

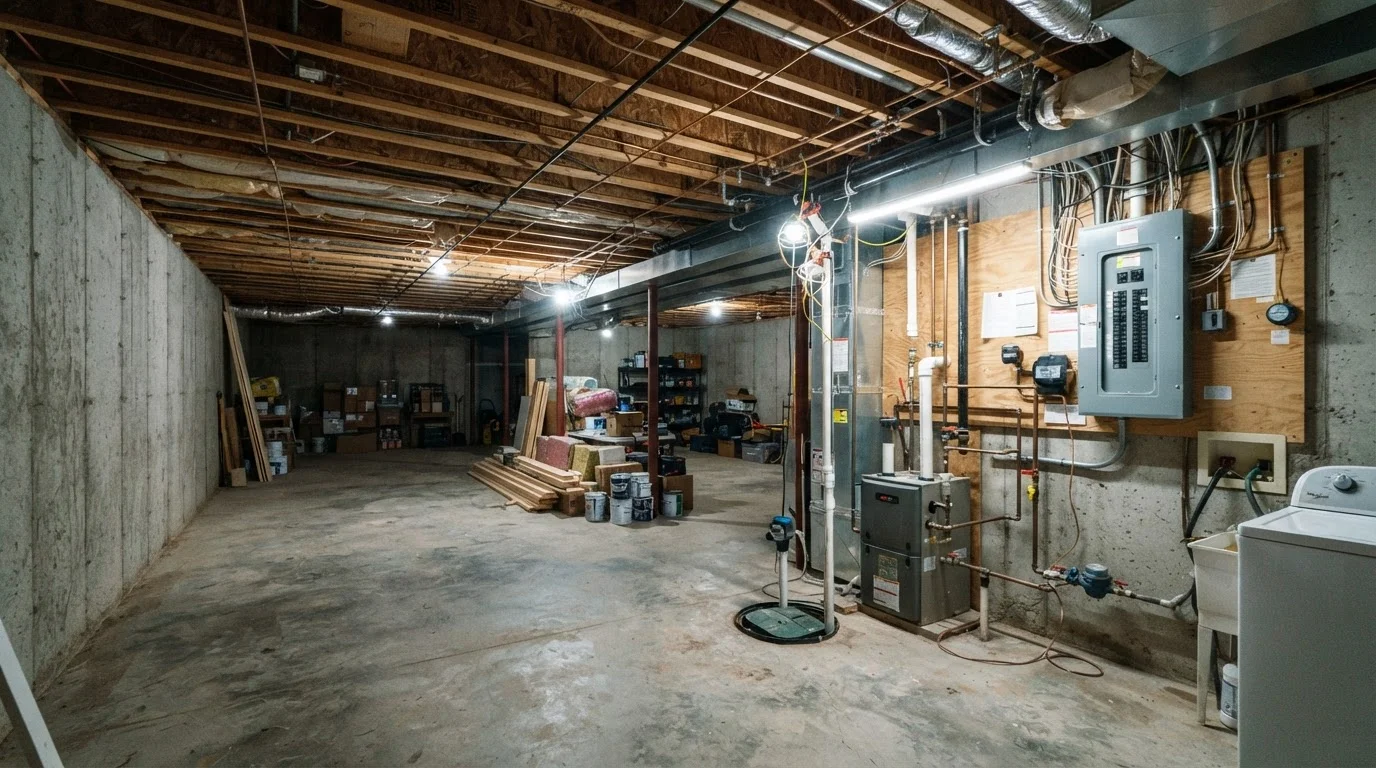
Key Takeaways
- Moisture intrusion is the single most common reason finished basements fail - test before you build.
- Egress windows are legally required in sleeping rooms and affect whether your basement can legally be a bedroom.
- Radon is an odorless gas that requires testing before enclosing any basement space.
- Your electrical panel may not have enough capacity to support a finished basement - check before designing circuits.
- Permits are typically required for basement finishing; skipping them can create legal and insurance complications.
Summary
22 items · 1-3 hours of assessment time, plus follow-up professional consultations
Why the Pre-Work Determines Everything
Finishing a basement is one of the most cost-effective ways to add livable square footage to a home. But it's also one of the easiest renovations to get badly wrong - not because of design mistakes, but because of problems that were there before a single stud was framed. Water infiltration behind new drywall, inadequate egress in an illegal bedroom, or an undersized electrical panel discovered after new circuits are roughed in: these are the surprises that turn manageable projects into expensive gut-jobs.
This checklist walks you through the critical assessments that should happen before demolition, design finalization, or contractor bids. The goal isn't to scare you off the project - it's to help you enter it with eyes open. Think of this as the foundation layer beneath everything else. Renovation sequencing matters across every room in the house, but in a basement, skipping the diagnostic phase carries outsized consequences because problems are literally buried once walls go up.
Moisture & Water Intrusion
Radon Assessment
Egress & Life Safety
Electrical Panel & Mechanical Systems
Permits & Code Compliance
Tools and Professional Help You May Need
Some of these assessments are straightforward DIY observations. Others require licensed professionals or specialized testing equipment. The table below outlines the key resources for working through this checklist systematically.
Radon Test Kit (certified)
Measures radon gas concentration in the basement air; a short-term kit takes 48-96 hours and is available at hardware stores and online.
Plastic Sheeting & Moisture Tape
Used in the plastic-sheet moisture test to determine whether dampness is condensation or true water intrusion through the slab or walls.
Tape Measure
Essential for measuring existing window openings against egress requirements and for verifying ceiling height throughout the space.
Licensed Electrician
Required to evaluate electrical panel capacity and design additional circuits safely and in compliance with local codes.
Certified Radon Mitigation Contractor
Needed if radon levels test at or above the EPA action level; installs sub-slab depressurization systems to reduce radon concentration.
Waterproofing Specialist
Evaluates and remedies active water intrusion issues before any framing or finishing work begins.
Local Building Department
The authoritative source for permit requirements, egress standards, and inspection stages specific to your municipality.
If your home has never been inspected since purchase, it may also be worth reviewing what home inspectors check that owners often miss - many of those findings are especially relevant to basement spaces.
What to Do With What You Find
Working through this checklist will likely land you in one of three situations. First, everything checks out: moisture is well-controlled, radon is below action levels, egress is achievable, and your electrical panel has headroom. You're ready to move into design and permitting with confidence. Second, you've identified one or two issues - a slow seep along a wall joint, or a panel that needs an upgrade. These are solvable; document them, get professional assessments and cost estimates, and build them into your project budget and timeline before you commit to finishes.
Third, you find significant structural, moisture, or radon issues. In this case, the pre-renovation phase may need to become a remediation project first. That's not a failure - it's the checklist doing exactly what it's supposed to do. Catching these problems before construction begins is almost always cheaper than discovering them mid-project or, worse, after the walls are closed.
Never Frame Over an Active Moisture Problem
Enclosing a basement wall or floor that has active water infiltration will almost certainly lead to mold growth, structural deterioration, and potentially a full tear-out within a few years. No vapor barrier, paint-on sealant, or insulation product substitutes for addressing the root cause of water entry. If moisture testing reveals an active problem, resolve it - with professional help if needed - before a single stud goes up.
Basement finishing shares some structural and permitting considerations with other large remodels. If you're weighing multiple renovation projects, the kitchen renovation planning guide offers a useful parallel look at how to sequence a complex project from first sketch to final walkthrough.
This article is for general informational and educational purposes only. Building codes, permit requirements, radon action levels, and egress standards vary by location. Always consult licensed professionals and verify local regulations before beginning any renovation project.