

Key Takeaways
- Defining your scope in writing before hiring anyone prevents expensive mid-project scope creep.
- Layout changes that move plumbing or gas lines dramatically increase both cost and permitting complexity.
- Trades must be sequenced correctly - demolition, rough-in, drywall, finish work - or you risk costly rework.
- A contingency fund of 15-20% of your total budget is a widely recommended planning standard.
- Your final walkthrough should verify every trade's work against the original scope before final payment.
Start With the Why: Defining Scope Before Anything Else
Every kitchen renovation that stays on budget and on schedule shares one thing in common: a clearly written scope of work established before a single contractor is called. Without it, decisions get made reactively, and reactive decisions are almost always expensive ones.
Start by separating your needs from your wants. Needs are functional problems - insufficient electrical capacity for modern appliances, non-functional ventilation, cabinets that are structurally failing. Wants are improvements: a larger island, an upgraded finish level, a layout that opens to the living room. Both are legitimate, but they belong in different budget categories.
Write down answers to these questions before your first contractor meeting: What isn't working in the current kitchen? Are you staying in this home long-term or preparing to sell? Are you keeping the existing footprint or moving walls? Which elements - cabinets, countertops, flooring, appliances - are being replaced versus retained?
The more specific your answers, the more accurate and comparable your contractor bids will be. Vague scopes produce wide bid ranges, which makes comparison nearly impossible. See our guide to avoiding budget spiral for deeper insight into how unclear scopes become costly surprises.
Layout Decisions That Shape Everything Downstream
Kitchen layout is the single decision with the longest downstream consequences. The classic work triangle - refrigerator, sink, and range positioned to minimize cross-traffic - remains a useful organizing principle, though modern kitchens with multiple cooks or large islands sometimes favor work zones instead.
The critical distinction to make early: are you working within the existing footprint, or are you moving walls? Keeping cabinetry and appliances roughly where they are (a so-called "in-place" remodel) is dramatically less expensive than relocating the sink, adding an island that requires new gas or electrical rough-ins, or removing walls to open the space.
If an open-concept layout is part of your vision, understand that the structural and mechanical complications are often far greater than they appear. A wall separating a kitchen from a living room may contain load-bearing structure, HVAC ducts, plumbing supply lines, or electrical circuits - all of which require rerouting before that wall comes down.
When planning cabinet layout, sketch on graph paper at ¼-inch scale and account for appliance door swing clearances - a refrigerator door that conflicts with an island is a problem discovered too late once cabinets are installed.
Dimensional conflicts between cabinetry and appliances are one of the most common - and avoidable - installation mistakes in kitchen renovations, and they're nearly impossible to fix without replacing components.
Order your countertops after cabinets are installed and level, never before - fabricators template from the actual installed surface, and even small variations from the plan will cause a pre-cut slab to fit poorly.
Cabinet installation always involves minor field adjustments for level and plumb. Templating against the finished installation rather than the design drawing ensures the countertop fits exactly.
Standard cabinetry runs in 3-inch increments, so plan your linear footage in multiples of 3 to avoid costly filler pieces or custom modifications. Sketch your layout on graph paper at ¼-inch scale before committing to a cabinet order.
Permits, Codes, and the Professionals You'll Need
Permit requirements for kitchen renovations vary by municipality, but a general rule applies: if you're moving or adding plumbing, gas lines, or electrical circuits, a permit is almost certainly required. Cosmetic work - painting, replacing cabinet doors, swapping like-for-like fixtures - typically does not trigger a permit, but always verify with your local building department before assuming.
Unpermitted work creates real problems. It can complicate a future home sale, void homeowner's insurance coverage for related damages, and in some cases require demolition and redo at the homeowner's expense. The permit process exists to ensure inspections happen at key stages - rough-in plumbing and electrical before walls close, and final inspection before the project is considered complete.
Always Verify Licenses and Insurance
Before any contractor or subcontractor begins work, request a copy of their current state license and certificates of general liability and workers' compensation insurance. Do not accept verbal assurances. Hiring unlicensed or uninsured workers puts you - as the homeowner - at financial and legal risk if an injury or property damage occurs on your job site.
For most kitchen renovations of meaningful scope, you will interact with several licensed trades: a general contractor (who coordinates subcontractors), a licensed plumber, a licensed electrician, and potentially an HVAC technician if ventilation is being modified. Structural changes require a structural engineer's assessment. Verify that every trade professional you hire holds a current license in your state and carries both general liability and workers' compensation insurance - ask for certificates before work begins.
The Right Order of Work - and Why It Matters
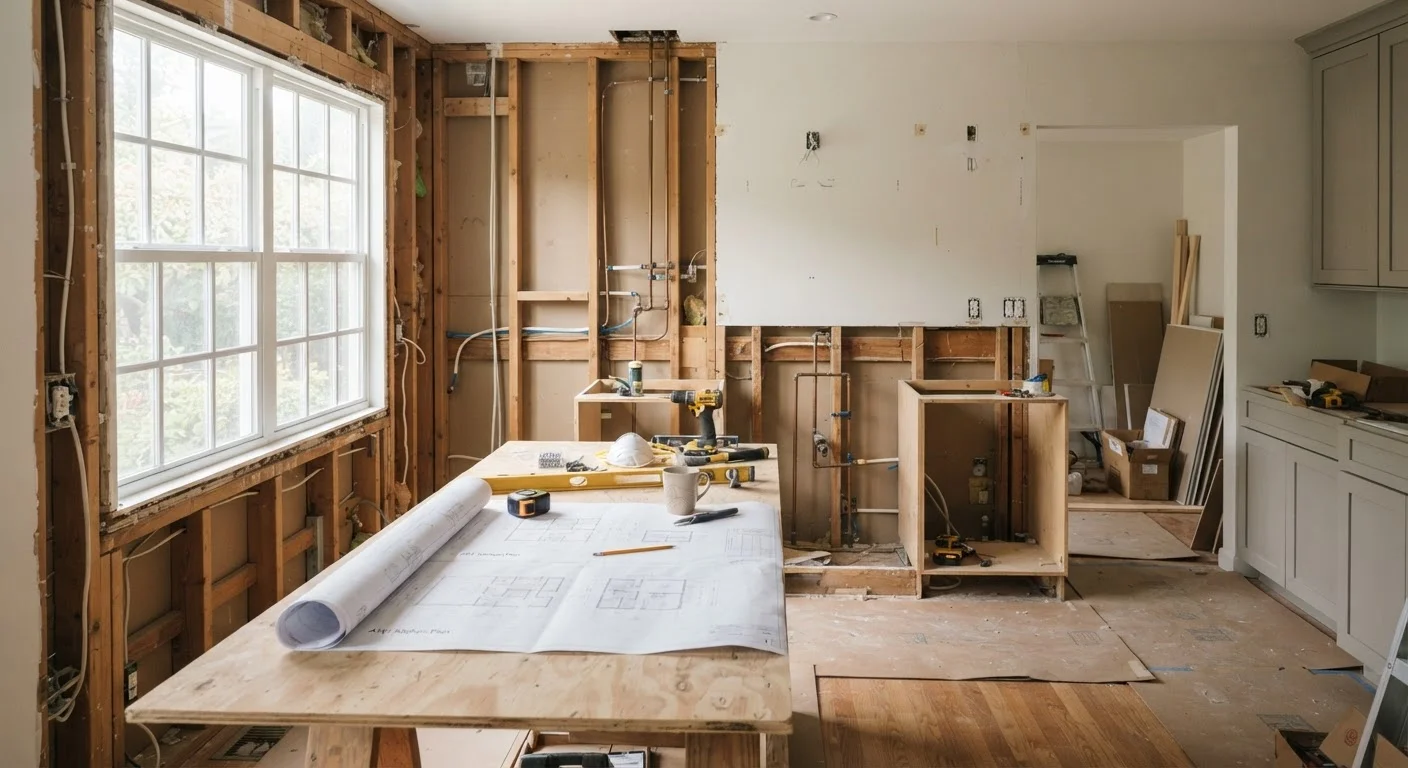
Renovation sequencing is not arbitrary. Each trade creates the conditions the next trade requires, and skipping ahead - or reversing the order - means paying to undo finished work. The standard sequence for a kitchen renovation runs roughly as follows:
- Demolition - cabinets, countertops, flooring, and any walls coming down
- Rough framing - new walls, window or door repositioning if applicable
- Rough mechanical - plumbing, electrical, and HVAC rough-ins (before walls close)
- Inspections - required inspections of rough-in work before walls are closed
- Insulation and drywall
- Prime and paint (walls and ceiling, before cabinets go in)
- Cabinet installation
- Countertop templating and installation
- Finish plumbing and electrical - fixtures, outlets, switches
- Appliance installation
- Flooring (often last to protect against damage from other trades)
- Final trim, hardware, and touch-up
Our detailed article on trade sequencing logic explains the reasoning behind each step and what happens when the order is disrupted.
Budgeting Realistically and Avoiding Mid-Project Pivots
Kitchen renovation costs vary enormously based on scope, region, finish level, and whether structural or mechanical work is involved. Rather than anchoring to a single number, build your budget in layers: base scope costs (cabinetry, countertops, appliances, labor), secondary costs (permits, design fees, temporary kitchen setup), and a contingency reserve.
A contingency fund of 15-20% of the total project budget is widely recommended by renovation professionals to absorb the unexpected - a corroded drain stack discovered during demolition, subfloor damage hidden under old vinyl, or an electrical panel that needs upgrading to support new appliances. Treating contingency as money you hope not to spend, rather than money you plan to spend, is the right mindset.
Mid-project pivots - changing the countertop material after cabinets are ordered, deciding to add an island after rough plumbing is complete - are among the most reliable ways to blow a budget. Lock in your material selections before demolition begins. A decision made on paper costs nothing; a decision reversed after fabrication or installation can cost thousands.
Lock In Selections Before Demolition Starts
Create a selections binder - countertop material and edge profile, cabinet finish and hardware, tile, flooring, fixture finishes - and finalize every item before demo day. This single habit prevents the mid-project indecision that stalls schedules and drives up costs. If a product has a long lead time, order it early so it arrives before that trade is scheduled.
The Final Walkthrough: What to Check Before Signing Off
The final walkthrough is your last opportunity to identify deficiencies before issuing final payment. Approach it systematically - bring your original scope of work and check each item against what was delivered.
Key areas to evaluate: Do all cabinet doors and drawers open and close smoothly, with consistent gaps? Are countertop seams tight and properly sealed? Do all appliances power on and function correctly? Are all plumbing fixtures leak-free under pressure? Do GFCI outlets (required near water sources) trip and reset properly? Is the range hood venting to the exterior, not just recirculating? Is the flooring free of lippage (unevenness between tiles or planks) and fully seated at transitions?
If your jurisdiction required a final building inspection, confirm that the inspection has been passed and that the permit is officially closed - not just that an inspection was scheduled. Request copies of all closed permits and any appliance or fixture manuals and warranties before your contractor leaves the job site.
A thorough final walkthrough protects you and establishes a clear record of the project's condition at completion. For guidance on related projects that follow a similar process, see our bathroom remodeling guide for first-timers and our resources on year-round home maintenance.