

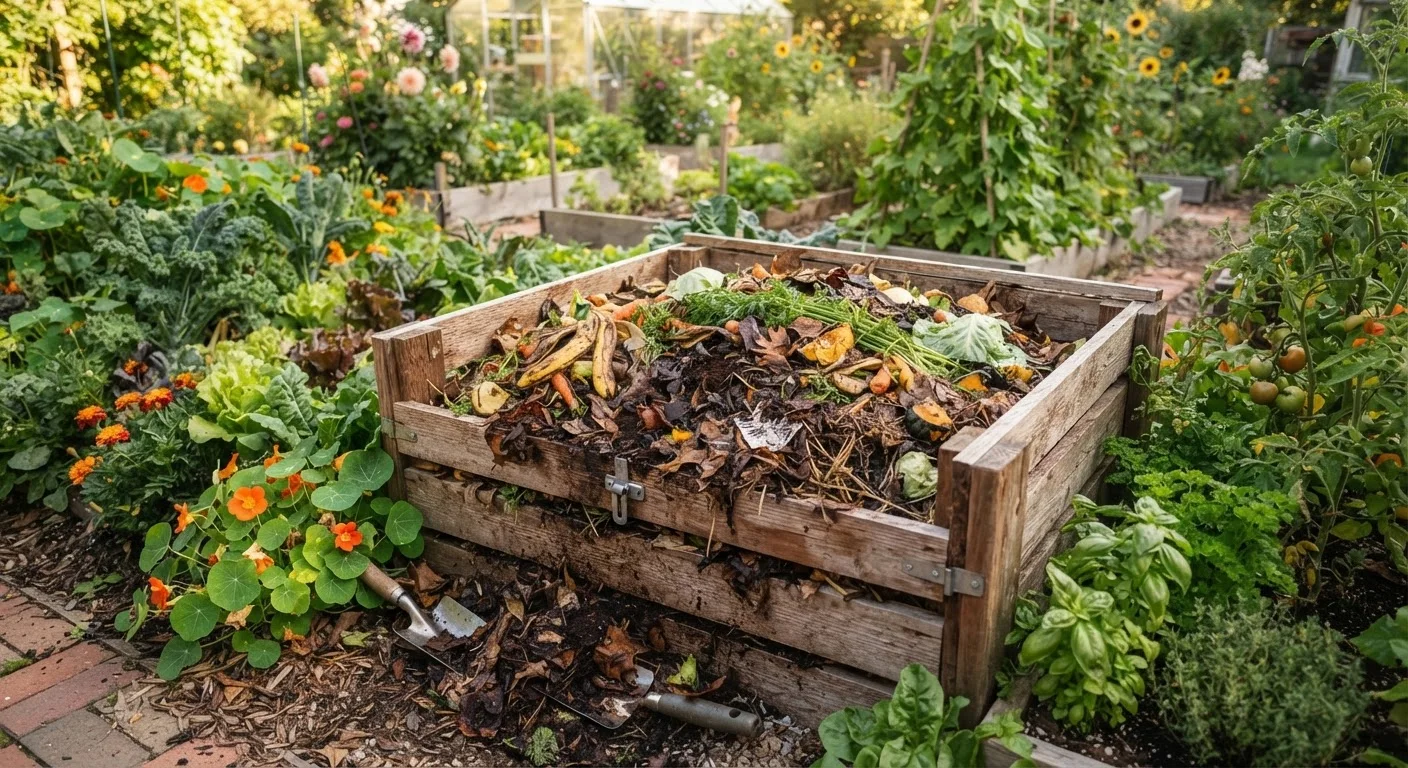
Key Takeaways
- Successful composting requires a balanced mix of nitrogen-rich "greens" and carbon-rich "browns."
- Turning your pile regularly and maintaining the right moisture level speeds decomposition significantly.
- Finished compost is dark, crumbly, and smells like fresh earth - not rot or ammonia.
- Avoid meat, dairy, and oily foods; they attract pests and create odor problems.
- Even small-space gardeners can compost using a compact bin or worm composting system.
What you will need
Why Composting Is Worth the Effort
Composting is one of the most impactful habits a home gardener can develop. Rather than sending kitchen scraps and yard trimmings to the landfill, composting channels those materials into a free, soil-improving amendment that benefits your entire yard. Finished compost improves soil structure, feeds beneficial soil organisms, and helps sandy soils retain moisture while loosening compacted clay soils.
If you're planning or growing a vegetable garden, homemade compost is among the best soil conditioners you can work in before planting. It also pairs well with mulching practices to suppress weeds and regulate soil temperature through the seasons.
Beyond the garden benefits, composting reduces household waste. The U.S. Environmental Protection Agency estimates that food scraps and yard trimmings together make up a significant share of municipal solid waste - all material that could otherwise be composted. Getting started requires no special equipment and modest effort once a routine is established.
What you will need
What to Add (and What to Avoid)
A healthy compost pile depends on balancing two categories of material. Greens are nitrogen-rich: fruit and vegetable scraps, coffee grounds and filters, tea bags, fresh grass clippings, and plant trimmings. Browns are carbon-rich: dry leaves, cardboard torn into small pieces, newspaper, straw, and wood chips. A general guideline is roughly two to three parts browns for every one part greens by volume. Too many greens produces a slimy, smelly pile; too many browns slows decomposition considerably.
Foods That Damage Your Compost Pile
Never add meat, fish, bones, dairy, or greasy foods to a home compost pile. These materials decompose slowly, generate strong odors, and are highly attractive to rats, raccoons, and other wildlife. Stick to raw fruit and vegetable scraps, coffee grounds, and eggshells for the safest, most trouble-free results.
Materials to exclude from any home compost pile include meat, fish, bones, dairy products, and oily or heavily processed foods. These attract rodents and other pests and can produce persistent, unpleasant odors. Also avoid pet waste, diseased plant material, and plants treated with persistent herbicides, which can survive the composting process and harm future plantings.
For those with limited outdoor space, balcony and patio gardeners can still compost using a compact sealed bin or a vermicomposting (worm bin) setup indoors or on a balcony.
Building and Maintaining Your Compost Pile
Follow the steps below to set up a productive compost system and keep it running efficiently through the seasons. A well-tended pile can produce finished compost in as little as two to three months under warm conditions, though cooler weather or less frequent turning may extend that to six months or more.
Choose and Set Up Your Composting Vessel
Select a spot that is convenient to reach from your kitchen but not directly against the house. Partial shade helps the pile retain moisture in hot weather. You can use a purchased plastic bin with a lid, a simple wire cylinder made from hardware cloth, wooden pallets wired together to form a three-sided enclosure, or simply a freestanding open pile. Place your vessel or mark your pile area directly on bare soil so earthworms and soil organisms can migrate in naturally.
Lay a Brown Base Layer
Begin with a 4-6 inch layer of coarse brown material - wood chips, straw, or shredded cardboard work well. This base promotes airflow from below and prevents the bottom of the pile from becoming waterlogged. Chop or shred materials into smaller pieces when possible; smaller particle sizes decompose faster because they expose more surface area to microbial activity.
Add Greens and Continue Layering
Add a 2-3 inch layer of green material - kitchen scraps, fresh grass clippings, or garden trimmings - on top of the base. Follow with another layer of browns in roughly the same ratio (2-3 parts browns to 1 part greens). Continue alternating layers as you collect material. Burying fresh kitchen scraps under a layer of browns each time you add them helps suppress odors and deter flies.
Maintain the Right Moisture Level
Your compost pile should feel about as damp as a wrung-out sponge - moist throughout but not dripping. If the pile is dry and decomposition has stalled, water it lightly and mix. If it smells sour or looks waterlogged, add a generous amount of dry brown material and turn to introduce air. In dry climates or during summer heat, you may need to water the pile weekly.
Turn the Pile Regularly
Use a garden fork to turn the entire pile, moving material from the outside edges toward the center and from the bottom toward the top. Turning introduces oxygen, which the bacteria responsible for decomposition need to thrive. Turning once a week produces the fastest results; once every two to four weeks is a more realistic pace for most households and still produces finished compost within a few months.
Recognize When Your Compost Is Finished
Finished compost no longer resembles the original materials. It is dark brown to black, has a crumbly, soil-like texture, and smells pleasantly earthy - similar to forest floor. The pile will also have shrunk considerably in volume. If you can still identify large chunks of vegetable matter or recognizable leaves, give it more time or sift out the unfinished material and return it to the active pile. Finished compost can be worked into garden beds, used as a top dressing around plants, or blended into potting mixes.
Use Finished Compost Generously
Work 2-3 inches of finished compost into garden bed soil each season to maintain organic matter levels. A light top dressing around established plants - sometimes called "side dressing" - delivers slow-release nutrients throughout the growing season without the risk of burning roots.
When autumn arrives, your compost pile becomes a natural destination for fallen leaves and spent garden plants. Incorporating that material is a key part of fall yard preparation, helping you clear the garden while building next year's soil amendment at the same time.