

Common Roofing Materials and Their Trade-Offs
Choosing a roofing material is one of the most consequential decisions in a replacement project. Each option carries different expectations for lifespan, weight, cost, and maintenance.
Asphalt Shingles
The most widely used residential roofing material in the United States, asphalt shingles come in two main types: three-tab (thinner, lighter, shorter-lived) and architectural or laminate shingles (thicker, dimensional appearance, longer-lasting). Typical lifespans range from 20 to 30 years depending on climate, installation quality, and ventilation. For context on how ventilation affects shingle life, see how roof ventilation works.
Metal Roofing
Standing-seam steel and aluminum panels, as well as metal shingles, offer lifespans commonly cited at 40-70 years. Metal reflects solar heat well and holds up in high-wind and heavy-snow climates. The trade-off is a higher upfront cost and the need for experienced installers familiar with thermal expansion and proper fastening methods.
Tile and Slate
Clay tile, concrete tile, and natural slate are exceptionally durable - slate installations can last a century or more - but they are significantly heavier than asphalt or metal. Structural assessment is required before installation to confirm the home's framing can bear the load.
Synthetic Roofing
Composite shingles made from rubber, plastic, or polymer blends are engineered to mimic the look of wood shake or slate while offering lighter weight and lower maintenance. Warranties typically run 30-50 years. Performance varies by manufacturer, so reviewing independent third-party testing data is worthwhile.
Understanding Roof Replacement Costs
Roof replacement costs depend on several layered factors. Understanding each helps homeowners evaluate estimates more critically.
5%-10%
Additional cost for steep-pitch roofs
Steep slopes (above 6:12 pitch) commonly add a per-square premium due to increased safety equipment and slower installation pace.
2-4 layers
Maximum shingle layers before required tear-off
Many local building codes prohibit more than two roofing layers; requirements vary by jurisdiction.
Up to 40%
Share of replacement cost tied to labor
Labor costs vary significantly by region, season, and roof complexity - a key reason itemized estimates matter.
Key Cost Drivers
- Roof size and pitch: Contractors measure roofs in squares (one square equals 100 square feet). Steep-pitch roofs cost more to install safely because crews require harness systems and slower workflow.
- Material choice: Asphalt shingles are generally the least expensive material option; natural slate and standing-seam metal sit at the higher end of the cost spectrum.
- Tear-off and disposal: Removing existing roofing layers adds labor time and disposal fees. Some jurisdictions limit the number of shingle layers allowed before a full tear-off is required.
- Decking condition: Rotten or water-damaged sheathing discovered during tear-off must be replaced - a cost that is difficult to predict before work begins.
- Flashing, underlayment, and ventilation: These components are part of a complete roof system. Replacing only the visible surface layer while reusing old, degraded flashings is a common shortcut that can lead to early failures.
Obtain multiple written estimates and ask each contractor to itemize labor, materials, tear-off, and disposal separately. This makes comparisons meaningful. For guidance on whether to manage this project yourself or hire out, the DIY vs. hiring a pro framework covers the relevant decision factors.
Permits and Code Compliance Matter
Most jurisdictions require a building permit for a full roof replacement, not just significant structural work. Working without a permit can create complications during home sales and may affect your homeowner's insurance in the event of a claim. Always verify local requirements with your building department before a contractor begins work, and ensure the final inspection is completed and documented.
The Installation Process: What to Expect
A professional roof replacement follows a defined sequence. Knowing these stages helps homeowners monitor progress and recognize when something looks out of order.
Roofing Square
A unit of measurement equal to 100 square feet of roof surface area. Contractors price materials and labor per square.
Underlayment
A water-resistant or waterproof barrier layer installed directly over the roof decking, beneath the surface material. It provides secondary protection against moisture intrusion.
Flashing
Thin strips of metal (typically galvanized steel or aluminum) installed at roof joints, valleys, and penetrations to prevent water from seeping into seams.
Decking (Sheathing)
The structural panel layer - usually plywood or oriented strand board (OSB) - fastened to roof rafters. It forms the surface to which underlayment and roofing material are attached.
Pitch
The steepness of a roof expressed as a ratio of vertical rise to horizontal run over 12 inches. A 4:12 pitch rises 4 inches for every 12 inches of horizontal distance.
Tear-Off
The process of removing existing roofing layers down to the decking before installing new material. Required when layers are damaged, too numerous, or incompatible with the new system.
- Inspection and planning: A contractor assesses the existing roof structure, checks decking integrity, measures square footage, and identifies any code-specific requirements for your jurisdiction.
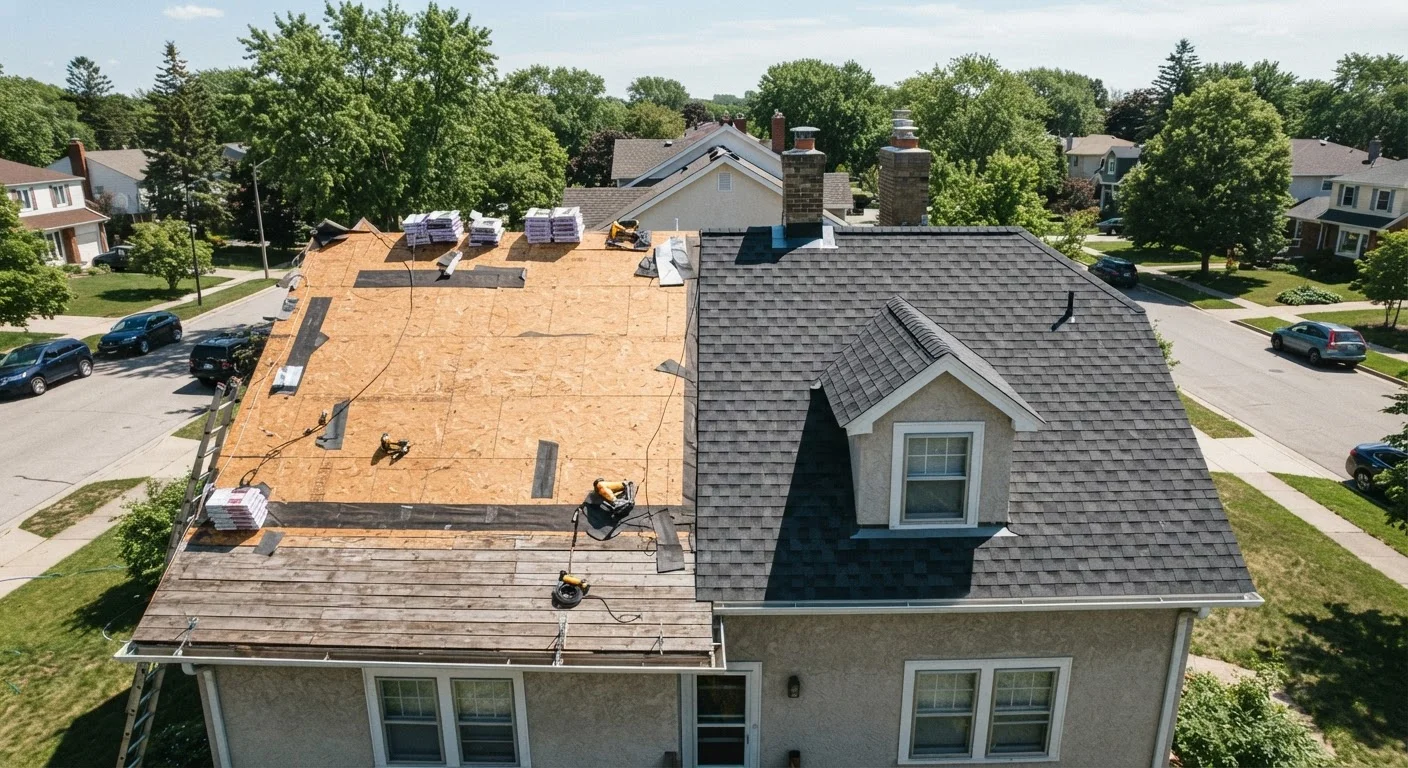
- Tear-off: Existing shingles, underlayment, and often old flashings are removed. This is typically the noisiest phase and generates significant debris - confirm dumpster placement and site protection for landscaping before work begins.
- Decking repair: Damaged or soft areas of roof sheathing are replaced. This is the stage where hidden moisture damage is revealed.
- Underlayment installation: A water-resistant barrier (synthetic felt or self-adhering membrane) is applied over the decking before any surface material goes on.
- Flashing: Metal flashing is installed or replaced around chimneys, skylights, vents, and roof valleys - areas where water is most likely to intrude.
- Surface material application: Shingles, panels, or tiles are installed according to the manufacturer's specifications and local building code.
- Clean-up and inspection: Responsible crews perform a magnetic sweep for nails, haul debris, and walk through the project with the homeowner.
Most permits are required for full replacements - verify requirements with your local building department before signing a contract. If your roof is showing early distress signals, warning signs that a minor roof issue has become urgent can help you gauge whether replacement is necessary now or can be planned ahead.