

Key Takeaways
- Timing matters: most shrubs are best pruned just after they finish flowering to protect next season's blooms.
- Always cut just outside the branch collar - never flush with the trunk - to support natural wound closure.
- Clean, sharp tools reduce ragged cuts that invite fungal disease and pests into open wood.
- Never remove more than one-third of a plant's live growth in a single pruning session.
- Sanitizing blades between plants prevents spreading disease from one shrub or tree to another.
Why Pruning Is More Than Just Cutting Back
Pruning is one of the most powerful tools a gardener has - and one of the most commonly misunderstood. Done correctly, it directs a plant's energy toward healthy growth, improves airflow through the canopy, and removes wood that is dead, diseased, or structurally weak. Done carelessly, it can stress a plant for years or create entry points for rot and disease that compound season after season.
Before picking up any tool, it helps to understand that every cut you make is a wound the plant must heal. Trees and shrubs don't repair damaged tissue the way animals do - they compartmentalize it, walling off the affected area and growing new tissue around it. That process works best when cuts are made in the right location, at the right time, with the right tool.
For anyone rethinking their landscape, it's also worth noting that native plants often require far less aggressive pruning than non-native ornamentals, since they're adapted to local conditions.
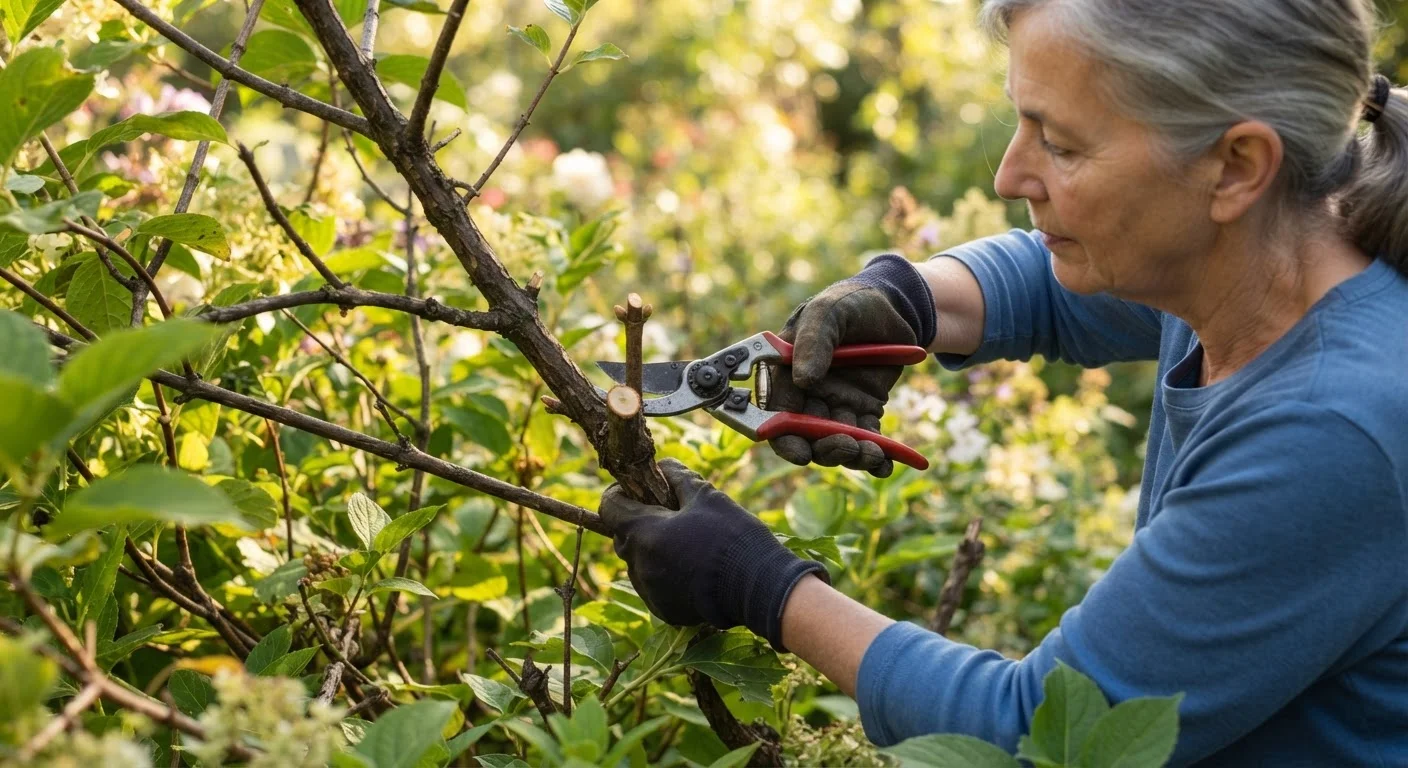
Always cut just outside the branch collar, never flush with the trunk or with a long stub remaining.
The branch collar contains specialized cells that drive wound closure. Removing it (flush cut) or bypassing it (long stub) both impair the plant's ability to seal the wound, leaving an open path for rot and disease organisms.
Prune spring-flowering shrubs immediately after bloom, not in fall or early spring.
Spring bloomers set flower buds on last year's wood. Cutting before those buds open sacrifices a full season of flowers and can stress the plant unnecessarily.
Never remove more than one-third of a plant's live foliage in a single pruning session.
Removing too much foliage at once reduces the plant's ability to photosynthesize and can trigger a stress response - including excessive weak regrowth called water sprouts - that takes years to correct.
Sanitize cutting tools between plants using a diluted disinfectant solution.
Pruning tools can carry fungal spores, bacterial pathogens, and viral particles from one plant to the next on the blade. This is a primary transmission route for diseases like fire blight in fruit trees.
Use the three-cut method when removing heavy limbs to prevent bark tearing.
A heavy limb cut from the top in a single pass will often split and tear downward before the cut is complete, stripping bark from the trunk - a wound far larger and more damaging than the intended cut.
Timing Your Cuts to the Plant's Calendar
One of the most common pruning mistakes is cutting at the wrong time of year. As a general rule, spring-flowering shrubs - such as lilacs, forsythia, and azaleas - set their flower buds on the previous year's wood (called old wood). Pruning them in late fall or early spring removes those buds before they ever open. The safest approach is to prune them within a few weeks of when they finish blooming.
Summer-blooming shrubs - such as crape myrtles and butterfly bush - typically flower on new growth produced in the current season (new wood). These can be pruned in late winter or very early spring without sacrificing blooms.
For deciduous trees, late winter - when the plant is still dormant but the worst cold has passed - is generally the best window. The absence of leaves makes the branch structure easy to read, and wounds close quickly as growth resumes in spring. Evergreens are usually best pruned in late winter or early spring just before new growth begins, though light shaping can be done in midsummer.
When in Doubt, Wait Until After Bloom
If you're unsure whether a shrub flowers on old wood or new wood, the safest default is to prune immediately after it finishes blooming. This approach protects whatever buds are present and gives the plant maximum time to recover before the next season. A quick search for your specific plant's bloom type takes less than a minute and saves a full year of flowers.
Where to Make the Cut
Cut placement is arguably the most important technical skill in pruning. Every branch connects to its parent stem through a slightly swollen area called the branch collar - a ring of specialized tissue the plant uses to seal wounds. Your cut should be made just outside this collar, angled slightly away from the trunk. Cutting flush with the trunk removes the collar and dramatically slows healing. Leaving a long stub beyond the collar creates dead wood that rots inward.
For smaller, lateral cuts - redirecting a branch to a bud or side shoot - cut just above a healthy outward-facing bud at roughly a 45-degree angle, sloping away from the bud. This sheds water away from the wound and directs new growth outward rather than toward the center of the plant.
If you're dealing with a large limb that could tear bark on its way down, use the three-cut method: make an undercut about 12 inches from the trunk, then a top cut slightly further out to remove the bulk of the weight, and finally a clean final cut just outside the collar.
To understand how harmful the alternative can be, see our article on why tree topping does more damage than it prevents.
Tools, Hygiene, and Getting Started Today
The right tool for the job matters as much as technique. Hand pruners (bypass style) handle stems up to about ¾ inch in diameter cleanly. Loppers extend your reach and leverage for branches up to 1½ to 2 inches. A pruning saw handles anything larger. Avoid anvil-style pruners on live wood - they crush tissue rather than cutting through it cleanly.
Keep blades sharp. A dull blade tears wood fibers, leaving a ragged surface that takes longer to heal and is more vulnerable to disease. Wipe or dip blades in a diluted household disinfectant solution between plants - especially when moving from a diseased specimen to a healthy one - to avoid spreading pathogens.
Pruning fits naturally into a broader seasonal care routine. Our fall yard prep checklist covers when to do a final tidy of woody plants before cold weather sets in, alongside other essential tasks like mulching and tool storage. Speaking of mulching, applying a layer around the base of freshly pruned shrubs supports recovery - see our guide on what mulch does and when to apply it.