

Key Takeaways
- Confirm your vehicle's correct oil type and capacity in the owner's manual before purchasing anything.
- You'll need specific tools - a drain pan, oil filter wrench, and jack stands - to do the job safely.
- Never work under a vehicle supported only by a floor jack; always use rated jack stands.
- Used motor oil must be recycled properly - most auto parts stores accept it at no charge.
- Some vehicles require shorter change intervals than the common 5,000-mile benchmark.
What you will need
Is a DIY Oil Change Actually Worth It?
Changing your own oil is one of the most frequently cited starter tasks in DIY car care - and for good reason. The procedure itself is straightforward, the parts are widely available, and completing it builds genuine familiarity with your vehicle. That said, "simple" doesn't mean "effortless." A successful DIY oil change requires the right tools, correct specifications, and careful attention to safety. Done poorly, it can result in oil leaks, an overfilled sump, or - in the worst cases - an engine running without adequate lubrication.
Before deciding whether this task belongs on your weekend list, consider your comfort level working under a raised vehicle, your access to the right equipment, and whether your car presents any complications (some modern vehicles have severely restricted underbody access or engine designs that make filter removal genuinely difficult). For a broader view of which maintenance tasks most drivers can handle themselves, see our look at DIY repairs that are safe for beginners - and those that aren't.
Warm Oil Drains Better
Running your engine for 3-5 minutes before draining helps warm the oil so it flows out more completely, leaving less sludge behind. Just be sure it isn't hot enough to burn you - let it cool slightly before working near the drain plug and exhaust.
What You'll Need Before You Begin
Gathering everything in advance prevents the frustrating mid-task discovery that you're missing a critical item. The specifications for your vehicle - oil viscosity grade, oil capacity in quarts, and filter part number - should come from your owner's manual, not from guesswork or a general web search. Viscosity grades like 5W-30 or 0W-20 are not interchangeable; using the wrong grade can affect engine protection. If you're unsure how to navigate the maintenance section of your manual, reading your owner's manual's maintenance section is a worthwhile first step.
Floor jack
Used to raise the vehicle so you can access the underside safely.
Jack stands (rated for vehicle weight)
Support the raised vehicle while you work underneath - do not substitute with improvised supports.
Oil drain pan
Collects the old oil as it drains from the engine.
Oil filter wrench
Provides grip to loosen the old oil filter, which is often on tight.
Socket set and ratchet
Used to remove and reinstall the oil drain plug.
Funnel
Prevents spills when pouring fresh oil into the engine fill port.
Nitrile gloves and safety glasses
Protect your hands from hot oil and your eyes from drips while working under the vehicle.
Torque wrench
Allows you to tighten the drain plug to the manufacturer's specified torque, preventing overtightening.
On the safety front: a floor jack is used only to raise the vehicle - never to support it while you work underneath. Rated jack stands placed at the manufacturer's designated lift points are non-negotiable. Check your owner's manual or a vehicle-specific resource for the correct jack points.
Jack Stands Are Non-Negotiable
Working under a vehicle supported only by a floor jack is one of the most dangerous mistakes a DIY mechanic can make. Floor jacks can slip or fail without warning. Always use properly rated jack stands placed at the vehicle's designated support points, and confirm the vehicle is stable before going underneath.
Step-by-Step: How to Change Your Oil
Work on a flat, level surface with the engine warm - not hot. A warm engine allows oil to drain more completely, but a fully hot engine and exhaust components can cause burns. Allow 5-10 minutes after shutting off a recently driven car before beginning.
Gather your materials and confirm specifications
Purchase the correct oil type, viscosity, and quantity as specified in your owner's manual, along with the correct replacement oil filter for your vehicle's year, make, and model. Have your drain pan, wrenches, and jack stands ready before you start.
Raise and secure the vehicle
Position your floor jack under the manufacturer-specified jack point, raise the vehicle, and immediately place rated jack stands under the vehicle's frame or designated support points. Lower the vehicle onto the stands and confirm it is stable before going underneath.
Drain the old oil
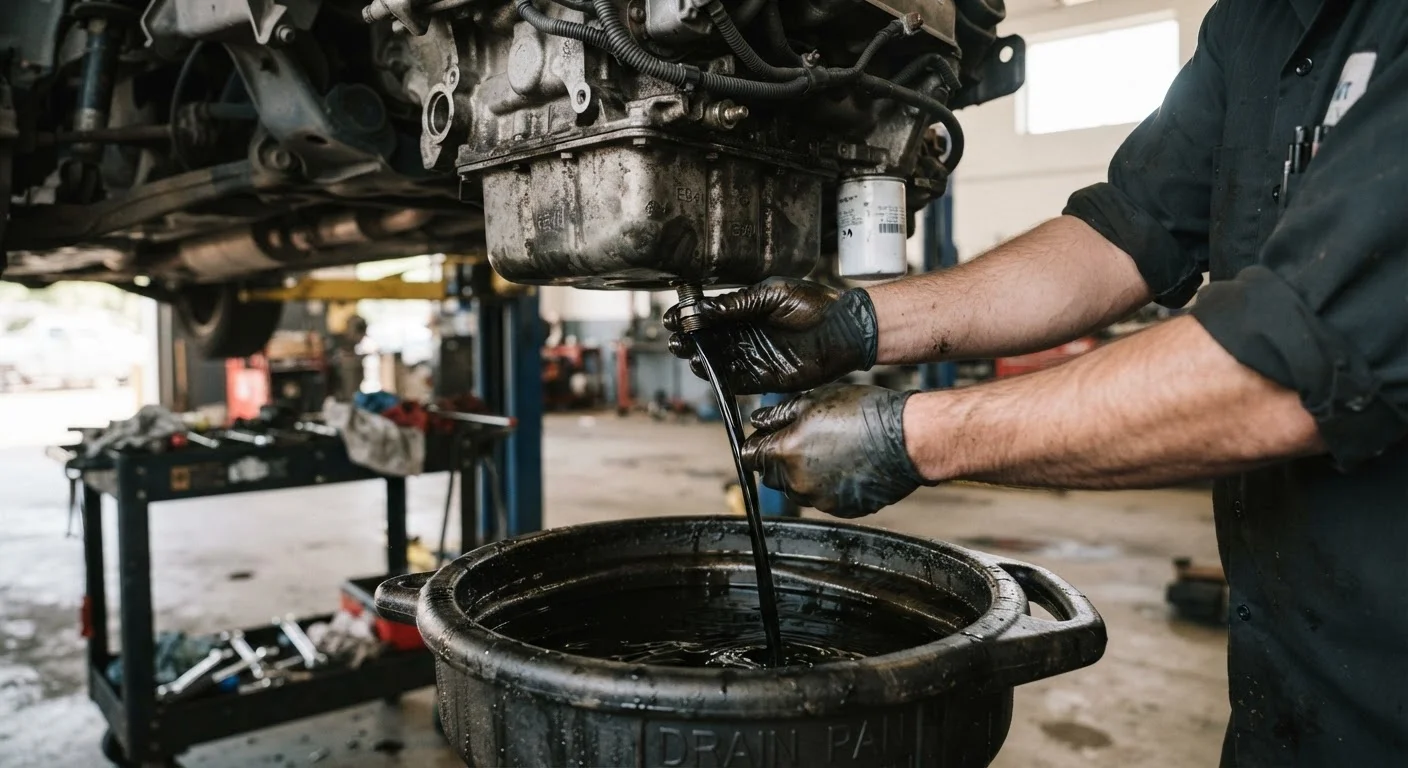
Position your drain pan under the oil drain plug, located on the underside of the oil pan. Using the correct socket size, loosen the plug counterclockwise and remove it by hand for the last few turns - oil will flow out quickly. Allow it to drain fully, typically 5-10 minutes.
Remove and replace the oil filter
Use an oil filter wrench to loosen the old filter counterclockwise. It will contain residual oil, so keep the drain pan in position. Before installing the new filter, lightly coat the new filter's rubber gasket with fresh oil using your fingertip. Hand-tighten the new filter - do not use the wrench to tighten it.
Reinstall the drain plug and add fresh oil
Wipe the drain plug and its seating surface clean. Reinstall the plug and tighten it firmly - consult your vehicle's torque specification if available, and do not overtighten, which can strip the threads. Lower the vehicle from the jack stands. Remove the oil filler cap on top of the engine and add the manufacturer-specified amount of fresh oil using a funnel.
Check for leaks and verify oil level
Start the engine and let it run for 30 seconds, watching the oil pressure warning light - it should go off within a few seconds. Shut off the engine, wait two minutes, then pull the dipstick to confirm the oil level is within the correct range. Inspect under the vehicle for any drips at the drain plug and filter.
After the Change: Checks, Disposal, and Interval Tracking
Once complete, run the engine for about 30 seconds and check underneath for any drips around the drain plug and filter. Then shut it off, wait two minutes, and use the dipstick to verify the oil level sits between the MIN and MAX marks. Overfilling - even by a small amount - can cause oil to foam and lose its lubricating properties, so add oil in small increments if needed.
Used motor oil is considered hazardous waste and cannot go in the trash or down a drain. Most auto parts retailers and many municipal recycling centers accept used oil at no cost. Keep your drained oil in a sealed container for transport.
Finally, record the mileage and date of the change. Your next interval depends on your vehicle and the oil type used - conventional oil typically needs changing every 3,000-5,000 miles, while full synthetic oil can often go 7,500-10,000 miles or more, depending on your manufacturer's guidance. Turbocharged engines and vehicles operated under severe conditions (frequent short trips, towing, extreme temperatures) may require shorter intervals. For a complete picture of fluid maintenance across your vehicle, car fluids decoded covers the full spectrum. This task fits within a broader maintenance mindset - one explored in depth in our complete car maintenance owner's reference.