

Key Takeaways
- Inspect the exterior, interior, engine bay, and undercarriage systematically before committing.
- Always request a vehicle history report and cross-check it against what you observe in person.
- A pre-purchase inspection by an independent mechanic is one of the most valuable steps you can take.
- Test-drive the vehicle on varied roads, including highway speeds, not just a short neighborhood loop.
- Rust, mismatched panel gaps, or fresh paint patches may indicate undisclosed accident or flood damage.
- Verify that all documentation - title, odometer statement, and maintenance records - is present and consistent.
What you will need
Why a Structured Inspection Matters
Used vehicles vary enormously in condition, and the asking price alone tells you very little about actual mechanical health or hidden history. A disciplined, systematic inspection - working from the outside in, and from documents outward - reduces the chance that an expensive problem goes unnoticed until after purchase. This approach fits into the broader car-buying journey, sitting between research and final negotiation.
The steps below follow a logical sequence: start with documents and remote research, then work through the physical vehicle, and end with professional verification. Skipping steps or doing them out of order is where buyers commonly miss issues.
What you will need
What You'll Need Before Starting
Gathering the right tools and information before you arrive keeps the inspection efficient and ensures you don't miss checks that require equipment. The vehicle history report in particular should be reviewed before the appointment - not during it.
Flashlight or phone torch
Illuminate the engine bay, wheel wells, and undercarriage where poor lighting hides rust or leaks.
Vehicle history report
Reveals accident records, title issues, odometer discrepancies, and previous ownership chains.
Tire tread depth gauge
Measures remaining tread depth to estimate remaining tire life and spot uneven wear patterns.
OBD-II scanner (code reader)
Reads stored diagnostic trouble codes from the vehicle's computer to flag hidden mechanical issues.
Once you have these items ready, follow the steps below in order. After the purchase, you'll want to familiarize yourself with ongoing car maintenance and make sure you have appropriate auto insurance coverage lined up before taking ownership.
Step-by-Step Inspection Walkthrough
Work through each of the following steps systematically. On a vehicle with no major red flags, this process typically takes 45 to 90 minutes including the test drive - longer if issues surface that require closer attention.
Review the vehicle history report before you arrive
Pull a history report using the VIN before the appointment. This gives you context for what to look for during the physical inspection - prior accidents, salvage or flood titles, and odometer rollback flags are all documented there. For a deeper look at interpreting these reports, see reading a vehicle history report.
Walk the exterior in good natural light
Inspect all body panels from a low angle. Look for mismatched paint sheen, uneven panel gaps, rippling sheet metal, or overspray on trim and rubber seals - these are signs of repaired collision damage. Check the door jambs and trunk lip for original paint codes; mismatches suggest a repaint. Examine the windshield for chips or stress cracks along the edges, which can spread and require full replacement.
Inspect the undercarriage and wheel wells
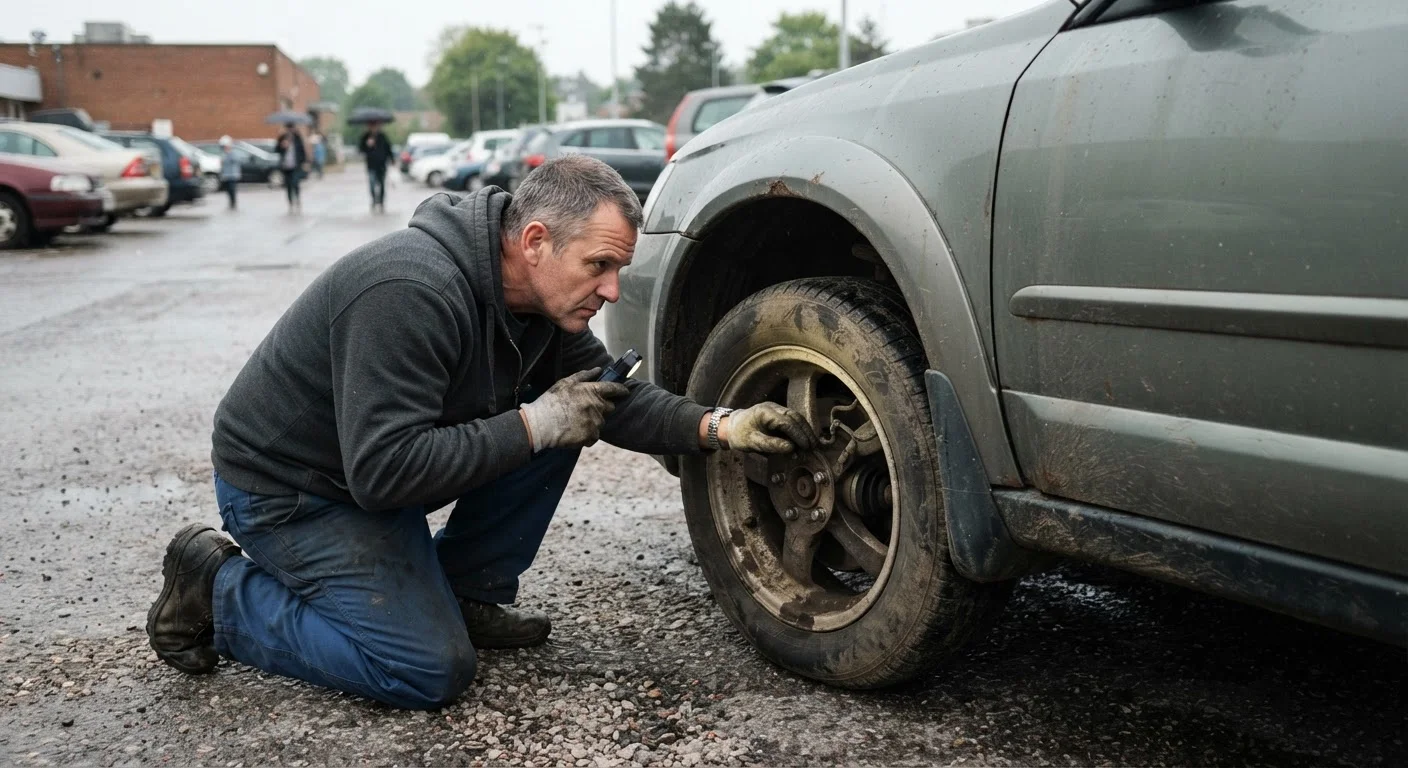
Use a flashlight to look beneath the vehicle for rust on the frame rails, exhaust system, and suspension components. Surface rust on underbody heat shields is common in older vehicles and usually cosmetic, but rust penetrating structural frame sections is a more serious concern. Check for active fluid leaks - oil stains, coolant residue, or transmission fluid pooling on the ground beneath the car.
Open the hood and check the engine bay
Look for oil on the engine block surface or cap, coolant that appears rusty or milky (which can indicate a head gasket issue), and hoses that feel brittle or show cracking. Check that fluid levels - oil, coolant, brake fluid, power steering if applicable - are within normal range. A clean engine bay is not always a good sign; sellers sometimes pressure-wash to hide leaks.
Test every interior control and electrical system
Sit in each seat and operate every control you can reach: windows, mirrors, locks, heated seats, all HVAC modes, infotainment, Bluetooth pairing, backup camera, and every lighting circuit including hazards. Check the dashboard for any warning lights that illuminate at startup and don't clear. A check engine light that stays on deserves a specific explanation - see what your check engine light is actually telling you.
Take a thorough test drive
Drive on surface streets and, if possible, a highway on-ramp to test acceleration under load. Listen for clunks over bumps (suspension wear), vibration at speed (tire balance or warped rotors), hesitation during acceleration, or grinding when braking. Test the brakes firmly from moderate speed in a safe area. Note whether the steering wheel sits centered or pulls to one side, which can indicate an alignment or suspension issue.
Arrange a pre-purchase inspection with an independent mechanic
Even after a thorough personal walkaround, have the vehicle inspected on a lift by a mechanic who has no financial stake in the sale. A qualified technician can identify worn brake pads, failing CV joints, coolant leaks, and other issues invisible to an untrained eye. This typically costs between $100 and $200 and is widely considered one of the highest-value steps in the used-car buying process.
Verify all documentation before finalizing
Confirm the seller holds a clean title - not a salvage, rebuilt, or lien-encumbered title - and that the VIN on the title matches the dashboard and door jamb plates. Request available maintenance records and compare the odometer statement against the history report. Inconsistencies between documents are a meaningful red flag worth investigating before signing anything.
If the vehicle passes your personal inspection and the independent mechanic's review, you're in a much stronger position to negotiate with confidence. For context on evaluating any major purchase this carefully, the same discipline applies across categories - the pre-purchase checklist approach is a transferable habit worth building.
Common Red Flags Worth Slowing Down For
Certain findings during an inspection don't automatically disqualify a vehicle, but they warrant a pause and more investigation before proceeding:
- Battery warning signs: Corrosion around the terminals, slow cranking at startup, or a seller who mentions the battery was recently replaced can all point to an electrical system under stress. See signs your car battery is failing for what to watch for.
- Inconsistent odometer readings: If the history report shows a reading higher than the current dashboard number, odometer tampering is a legal and practical concern.
- Missing title or title delays: A seller unable to produce the title at the time of inspection may not have clear ownership - or there may be an unresolved lien.
- Rushed sale pressure: Urgency to close quickly, resistance to an independent inspection, or unwillingness to answer direct questions about history are behavioral signals worth taking seriously.
Flood-Damaged Vehicles Are a Persistent Risk
Flood-damaged vehicles are sometimes retitled in other states and sold without clear disclosure - a practice sometimes called title washing. Signs include musty odor inside the cabin, water staining under floor mats or in the trunk, mud or sediment in hard-to-clean areas like the spare tire well, and corrosion on interior electrical connectors. A history report may flag flood damage, but not always - the physical inspection is a critical second check.
None of these factors alone is necessarily a dealbreaker, but each one shifts the burden of proof to the seller. Ask direct questions and require satisfactory documentation before proceeding.