

Key Takeaways
- Providing written notice within the lease-required timeframe is legally essential and protects your deposit.
- Document the unit's condition with dated photos at both move-in and move-out.
- Landlords can only deduct for damages beyond normal wear and tear, not routine aging.
- Most states require landlords to return deposits within 14-30 days after move-out.
- Reviewing your original lease before leaving helps you anticipate and avoid costly surprises.
What you will need
Why Security Deposits Get Withheld
Security deposits - typically one to two months' rent - exist to protect landlords against unpaid rent and property damage. But for renters, they represent real money, and losing even a portion of one is a common and frustrating outcome that is often preventable.
The most frequent reasons landlords withhold deposits include insufficient notice, cleaning deficiencies, unreported damage, and failure to return keys or access devices. Understanding the legal framework and your lease obligations before you move out is the most effective way to protect yourself. For a broader look at lease language that affects your move-out rights, see lease clauses that often catch renters off guard.
Start Your Rental Journey Informed
The move-out process is much smoother when you've kept records from day one. If you're at the beginning of a rental search, renting a home from start to keys in hand walks through everything from budgeting and lease review to move-in documentation - steps that directly protect your deposit when it's time to leave.
What You Need Before You Start
Gathering the right materials and information before beginning your move-out process will reduce the risk of missing a critical step.
What you will need
Lease Agreement
Confirms your required notice period, cleaning obligations, and any move-out procedures specified by the landlord.
Smartphone or Camera
Used to photograph and video the unit's condition at move-out for documentation purposes.
Move-Out Cleaning Supplies
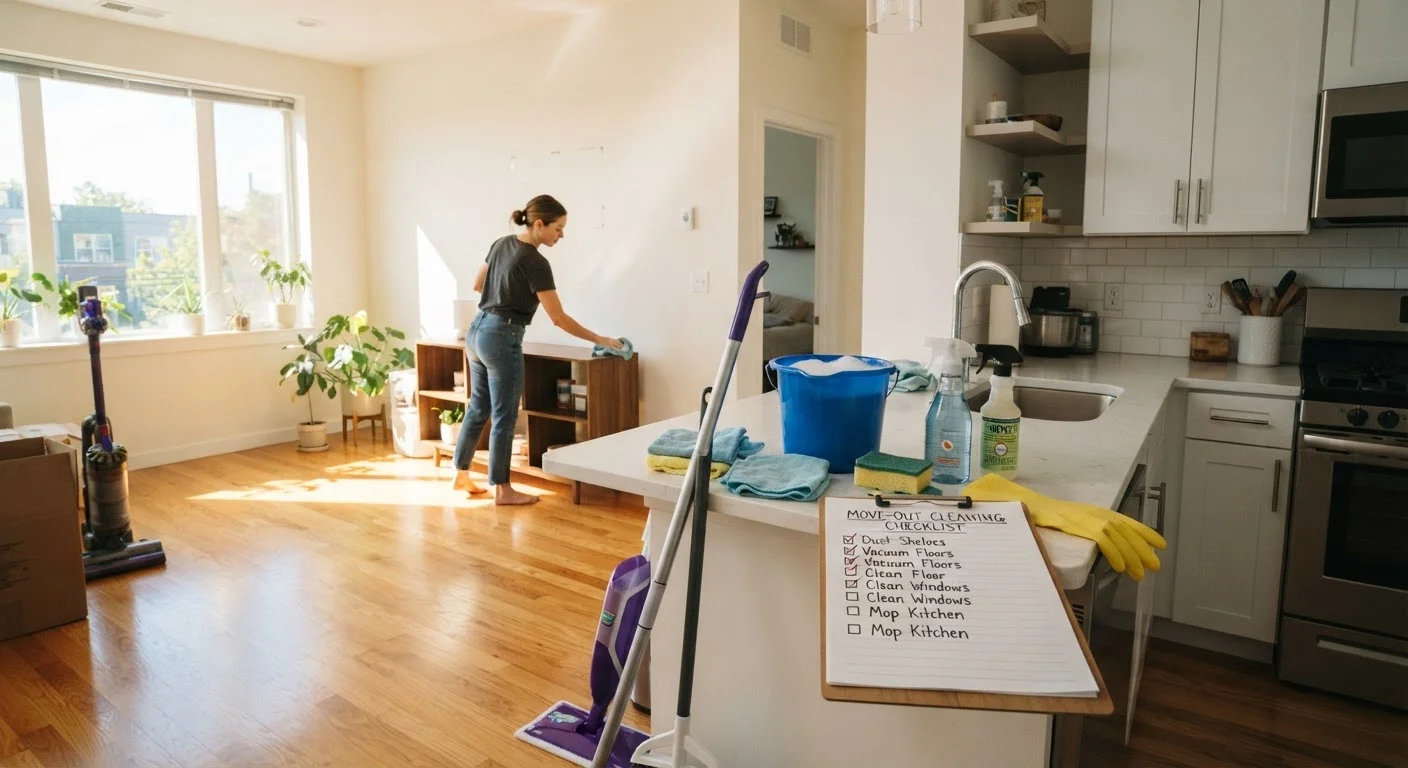
Standard household cleaners, mop, vacuum, and sponges needed to return the unit to its original condition.
Move-In Inspection Report
Provides a dated baseline of the unit's pre-existing condition to compare against move-out findings.
Written Notice Template
A dated, signed letter or email formally communicating your intent to vacate by the required deadline.
Step-by-Step Move-Out Instructions
Follow these steps in order. Each one addresses a specific area where renters most commonly lose part or all of their deposit.
Review Your Lease and Determine Your Notice Deadline
Open your lease and locate the notice clause - most residential leases in the U.S. require 30 or 60 days' written notice before vacating. Missing this window can result in automatic lease renewal or financial penalties that are deducted from your deposit. Note the exact date your notice must be delivered, not just the date you plan to leave.
Submit Written Notice to Your Landlord
Draft a short written notice stating your intended move-out date, your name, and your unit address. Deliver it via a method that creates a verifiable record - email with a read receipt, or certified mail with return receipt. Verbal notice is generally insufficient and difficult to prove if a dispute arises later.
Document the Unit's Current Condition
Before you begin any cleaning or repairs, photograph and video every room systematically. Capture walls, floors, ceilings, appliances, windows, and any pre-existing damage. Date-stamp all images if your device supports it, or email them to yourself to create a timestamped record. These images serve as evidence if your landlord attempts to charge for pre-existing conditions.
Clean the Unit to Its Original Condition
Your lease likely requires you to return the unit in the same clean condition it was in when you moved in. Clean all appliances inside and out, scrub bathrooms, wipe cabinet interiors, clean windows, vacuum carpets, and mop hard floors. Pay attention to areas that accumulate grease or grime - range hoods, oven interiors, and bathroom grout are common sources of deductions.
If professional cleaning was required by your lease, retain the receipt as proof of compliance.
Complete Minor Repairs Within Your Responsibility
Small nail holes from picture hanging, for example, are often considered normal wear and tear but can be an area of dispute. Filling them with spackling compound and touching up paint with the original color (if you have it) eliminates ambiguity. Do not attempt repairs beyond your competency - poorly executed fixes can cause more damage and cost more to correct.
Request or Attend a Move-Out Inspection
Many states give tenants the right to be present during the landlord's final walk-through inspection. Request this in writing. Being present allows you to address any concerns the landlord raises on the spot and reduces the likelihood of unexpected deductions appearing on your final itemization. Take your own notes during the inspection.
Return All Keys, Fobs, and Access Devices
Return every key, parking pass, garage remote, mailbox key, and access fob that was issued to you at move-in. Failing to return any item can result in a locksmith or replacement charge deducted from your deposit. Ask for written confirmation - an email or signed receipt - that all items were returned.
Provide Your Forwarding Address
Most state laws require landlords to mail the deposit refund - along with an itemized statement of any deductions - to your last known address. Provide your new address in writing before or on your move-out date. This also starts the clock on the landlord's legal deadline to return your deposit, which in most states ranges from 14 to 30 days.
Know Your State's Deposit Return Deadline
Landlord-tenant law varies significantly by state. Most states require landlords to return your security deposit - or provide a written itemization of deductions - within 14 to 30 days of your move-out date. If a landlord misses this deadline without a valid reason, many state laws allow tenants to recover double or even triple the deposit amount in small claims court. Look up the specific statute for your state before assuming a general rule applies.
Understanding Normal Wear and Tear
Normal wear and tear refers to the gradual, unavoidable deterioration that occurs through ordinary use - faded paint, minor scuffs on walls, or small carpet impressions from furniture. Landlords are generally not permitted to charge tenants for these conditions. Damage, by contrast, refers to harm caused by negligence or misuse: large holes in walls, stained carpeting, broken fixtures, or burns.
This distinction matters because landlord-tenant law in most U.S. states explicitly prohibits deducting from a deposit for normal wear and tear. If you believe a deduction is improper, your state's landlord-tenant statute - often available through the state attorney general's website - will define the standard for your jurisdiction. If you have pets, your situation may involve additional considerations; what renting with pets actually involves explains how pet deposits and damage charges typically work.