

Key Takeaways
- Short, positive grooming sessions help dogs associate handling with rewards rather than fear.
- Desensitization - gradual exposure to tools and touch - is the foundation of stress-free grooming.
- Brushing, nail trims, and ear cleaning each require different techniques and pacing.
- Knowing your dog's stress signals lets you stop before anxiety escalates.
- Consistency over time builds tolerance; rushing the process often backfires.
What you will need
Why Dogs Resist Grooming - and How to Change That
Many dogs that resist grooming aren't being difficult - they're communicating discomfort. Unfamiliar sounds, physical restraint, and sensitive body areas (paws, ears, face) can trigger anxiety or defensive behavior, especially in dogs never properly introduced to handling as puppies. If you're starting with an adult dog, patience matters more than speed.
The behavioral science here is straightforward: dogs learn through association. If the nail clippers always appear right before something uncomfortable, your dog will start reacting to the sight of them. The goal is to reverse that association - making grooming tools predict calm, treats, and release. This process is called desensitization and counter-conditioning, and it's endorsed by veterinary behaviorists as the most humane and effective approach.
If you're starting with a puppy, early exposure to grooming routines pays long-term dividends. Our guide for new puppy owners covers how to introduce handling from day one.
What you will need
Tools You'll Need
Using the right tools reduces session time and physical discomfort for your dog. Below are the core items for a basic at-home grooming routine.
Slicker brush or breed-appropriate comb
Removes loose fur, detangles coat, and distributes natural oils through the fur.
Dog nail clippers or grinder
Trims nails to a safe length to prevent overgrowth-related discomfort and posture problems.
Dog-safe ear cleaning solution
Loosens wax and debris from the ear canal during routine ear cleaning.
Cotton balls or gauze pads
Used to gently wipe the outer ear after applying cleaning solution.
Styptic powder
Stops minor bleeding quickly if a nail is accidentally trimmed too short.
Non-slip mat
Gives your dog stable footing during the session, reducing anxiety caused by slipping.
Before each session, lay everything out within reach so you're not rummaging around mid-groom. Sudden movements to retrieve forgotten items can startle a dog who was just starting to relax.
Step-by-Step: Calm, Effective At-Home Grooming
Work through these steps in order. For a dog new to grooming, spread them across multiple short sessions rather than attempting everything at once. Building trust gradually is more effective than pushing through resistance.
Start with a calm warm-up
Before touching any tools, spend two to three minutes letting your dog settle. Sit on the floor with them, offer a few treats, and do some gentle petting in areas they enjoy. This signals that the session will be positive, not aversive. Only move forward when your dog appears relaxed - soft body, normal breathing, willingness to take treats.
Introduce tools before using them
Show your dog the brush, clippers, or ear solution bottle. Let them sniff it. Pair each sniff with a treat. Do not immediately start using the tool - this introduction phase may take several sessions for a tool-wary dog. Once your dog sniffs the tool without moving away, you can progress to touching them lightly with it (still without using it).
Brush the coat in short passes
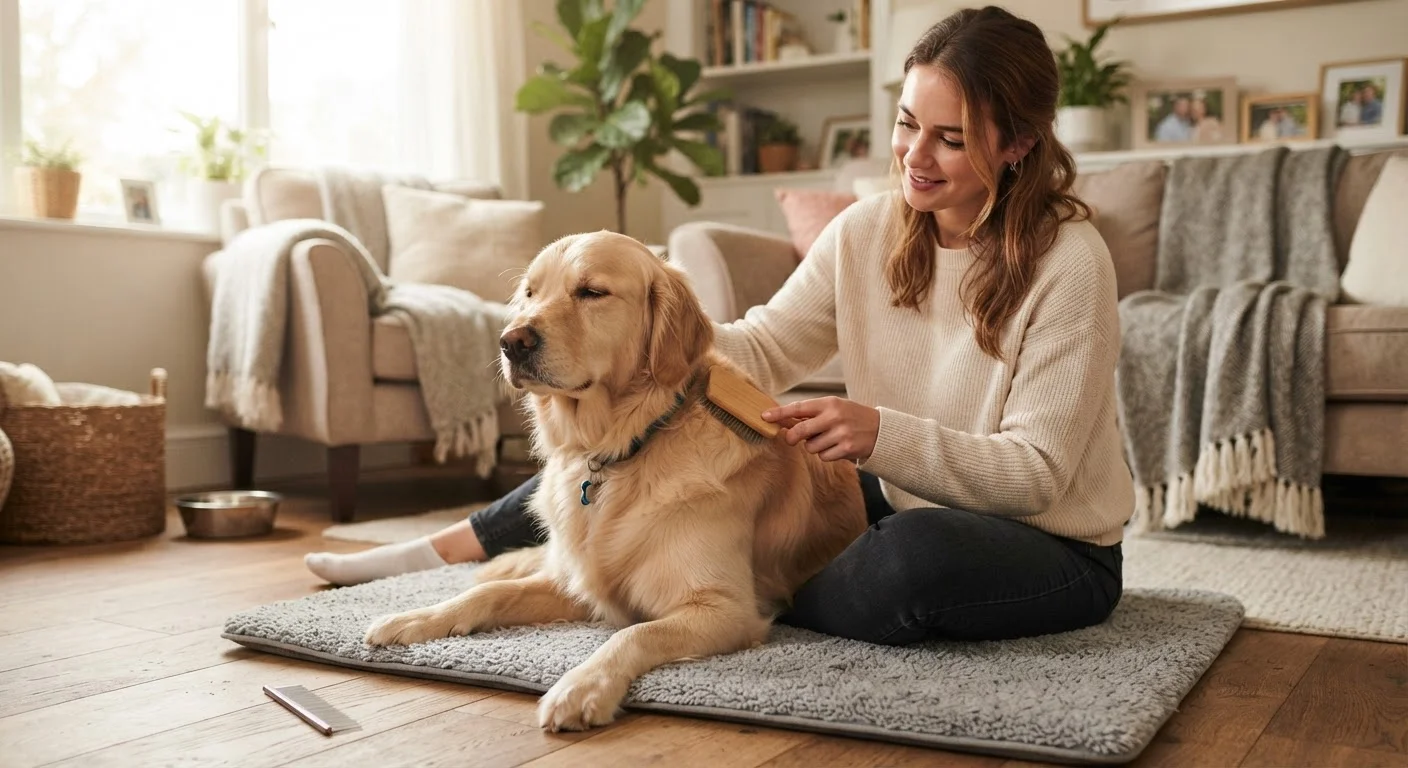
Begin brushing in the direction of hair growth, starting on the dog's back or shoulder - generally the least sensitive area. Work in short strokes rather than long sweeping passes. For dogs with thicker coats, use a line brushing technique: part the fur and brush from the skin outward in sections. Reward frequently throughout, not just at the end.
Trim nails one at a time
Hold your dog's paw gently but firmly and locate the quick - the pink blood vessel visible in light-colored nails, less visible in dark nails. Clip just the curved tip, staying well clear of the quick. For dark nails, clip in small increments and stop when you see a grey or pink dot appear in the center of the cut surface. Reward between each nail, not just at the end of the session.
Clean ears gently and only as needed
Healthy ears don't need frequent cleaning. Clean only when you notice wax buildup or mild debris - not on a rigid schedule. Apply a vet-recommended ear cleaning solution to a cotton ball (never directly into the canal with a dropper unless instructed by your vet), and gently wipe the outer ear and the folds of the inner ear flap. Do not insert anything into the ear canal.
End on a positive note
Always close the session before your dog hits their stress threshold - even if you haven't finished everything you planned. Give a final treat, some calm praise, and then release them to do something they enjoy. A session that ends positively reinforces the association between grooming and good outcomes, making the next session easier.
Use a 'treat scatter' to reduce stillness pressure
Scattering small treats on a lick mat or snuffle mat gives your dog a calming, engrossing activity during grooming. The licking action itself promotes relaxation through natural endorphin release. This is particularly helpful during nail trims or ear cleaning when you need your dog relatively still.
Recognizing When to Stop - and When to Call a Professional
Stress signals to watch for include: whale eye (showing whites of the eyes), excessive yawning, lip licking, freezing, low body posture, or growling. Any of these mean your dog has reached their threshold. Stop the session, give them space, and try again later with a shorter goal.
Some tasks - such as trimming very overgrown nails, grooming near wounds, or managing severe matting - are better handled by a veterinarian or certified groomer. Attempting these at home without experience can cause pain or injury. If your dog's stress is severe or escalates to snapping, consult your vet or a certified applied animal behaviorist before proceeding.
Grooming naturally connects to your dog's overall health picture. Noting changes in skin, coat, ear odor, or nail condition during sessions gives you useful observations to share at your next vet appointment. Our annual vet visit prep guide can help you make the most of that conversation.
Pairing grooming with a consistent daily routine also helps - dogs who know what to expect each day tend to be calmer and more cooperative during handling.
This article is for general informational purposes only and is not a substitute for professional veterinary or behavioral advice. Always consult a qualified veterinarian or certified animal behaviorist if your dog shows signs of significant distress or aggression during grooming.